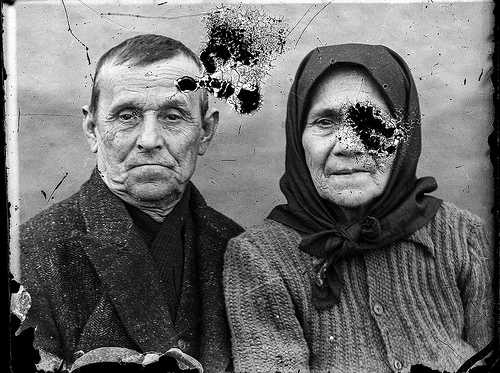
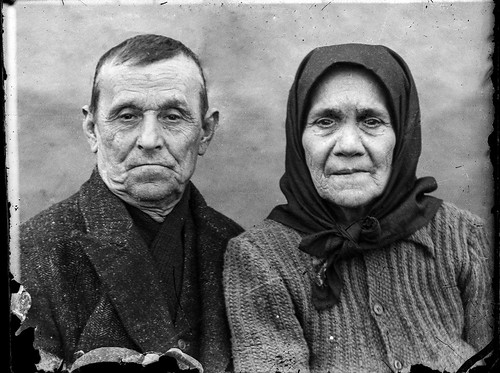
I’m still not entirely sure this isn’t some sort of art project. The pictures are just too perfect and comments like the one here don’t exactly allay suspicions. I kind of hope it is. It’d be doubly weird to be “fixing” intentionally created errors. In any case, as part of my 30 minutes of something creative here’s a more aggressive before/after repair attempt.

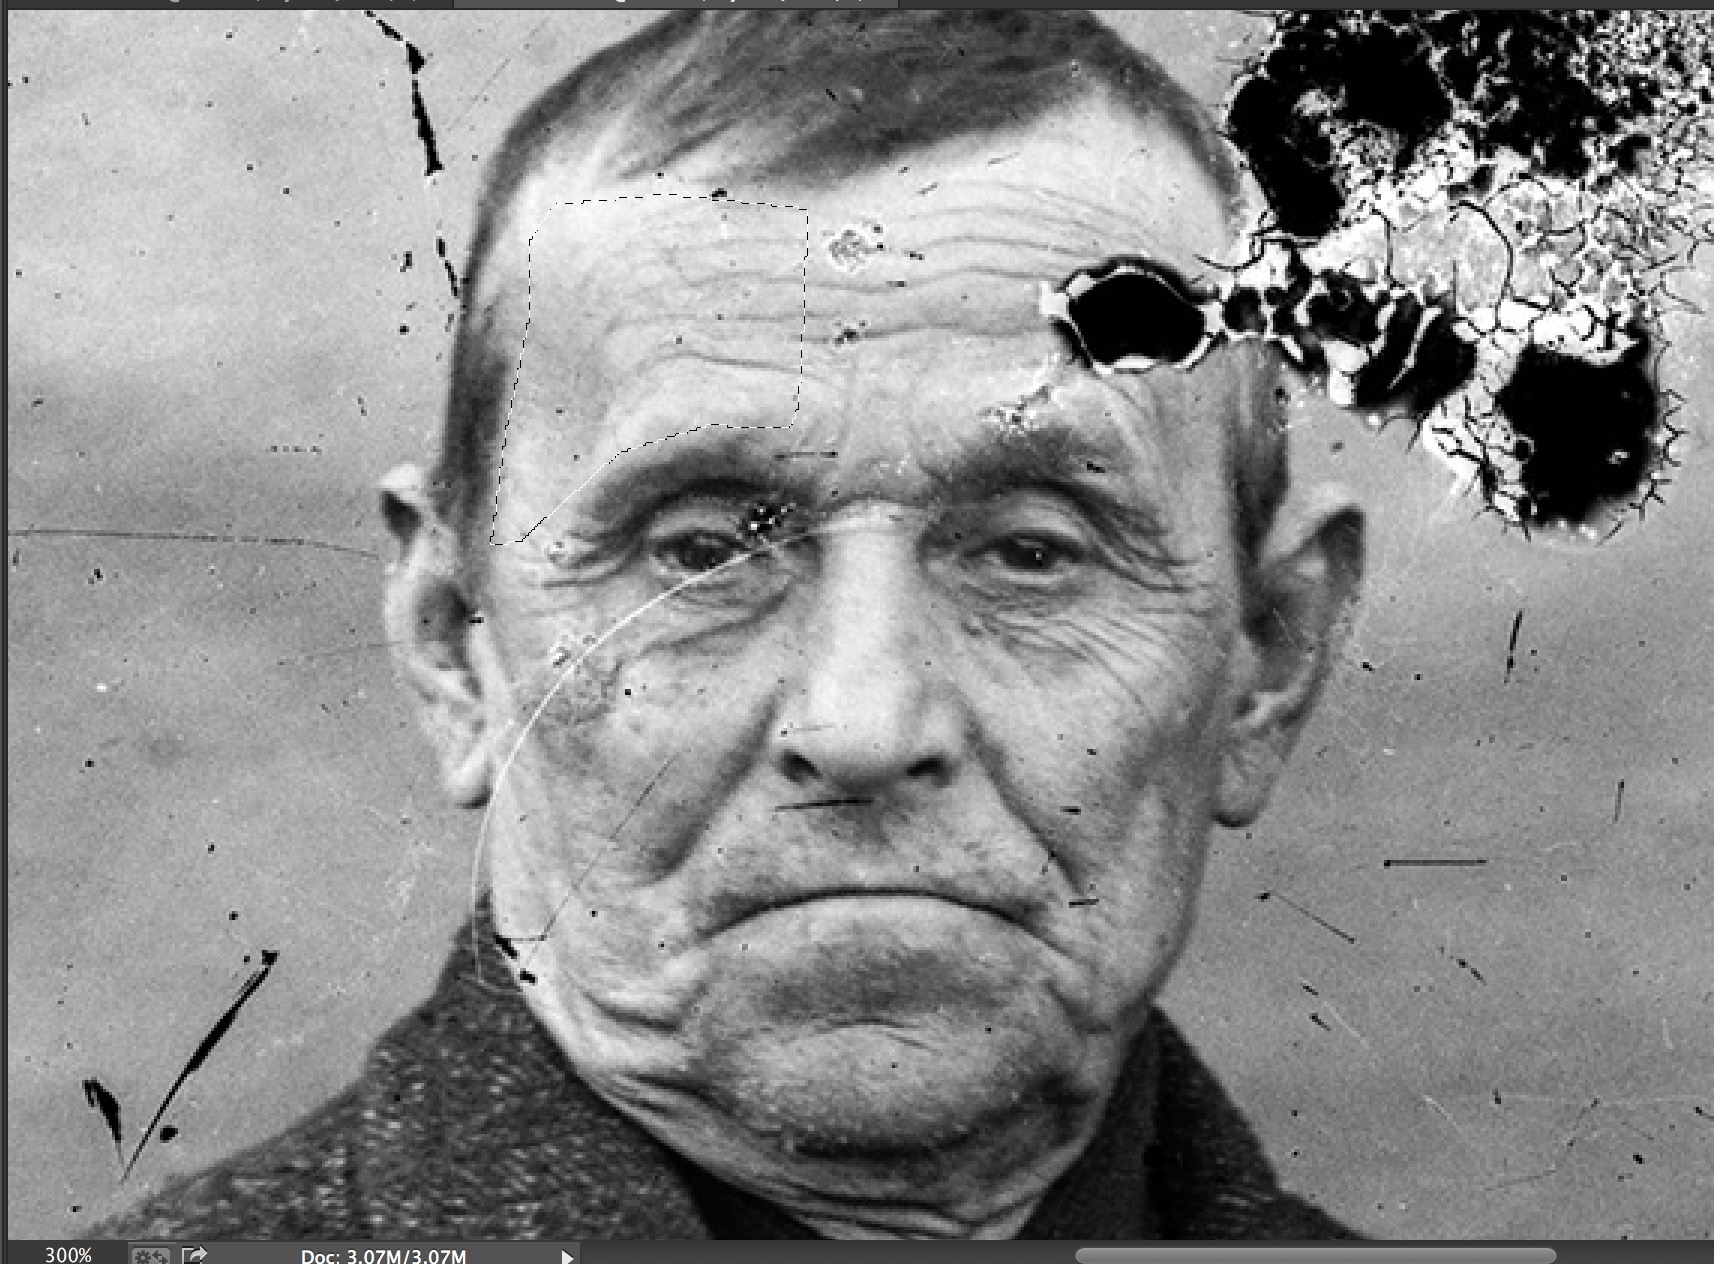
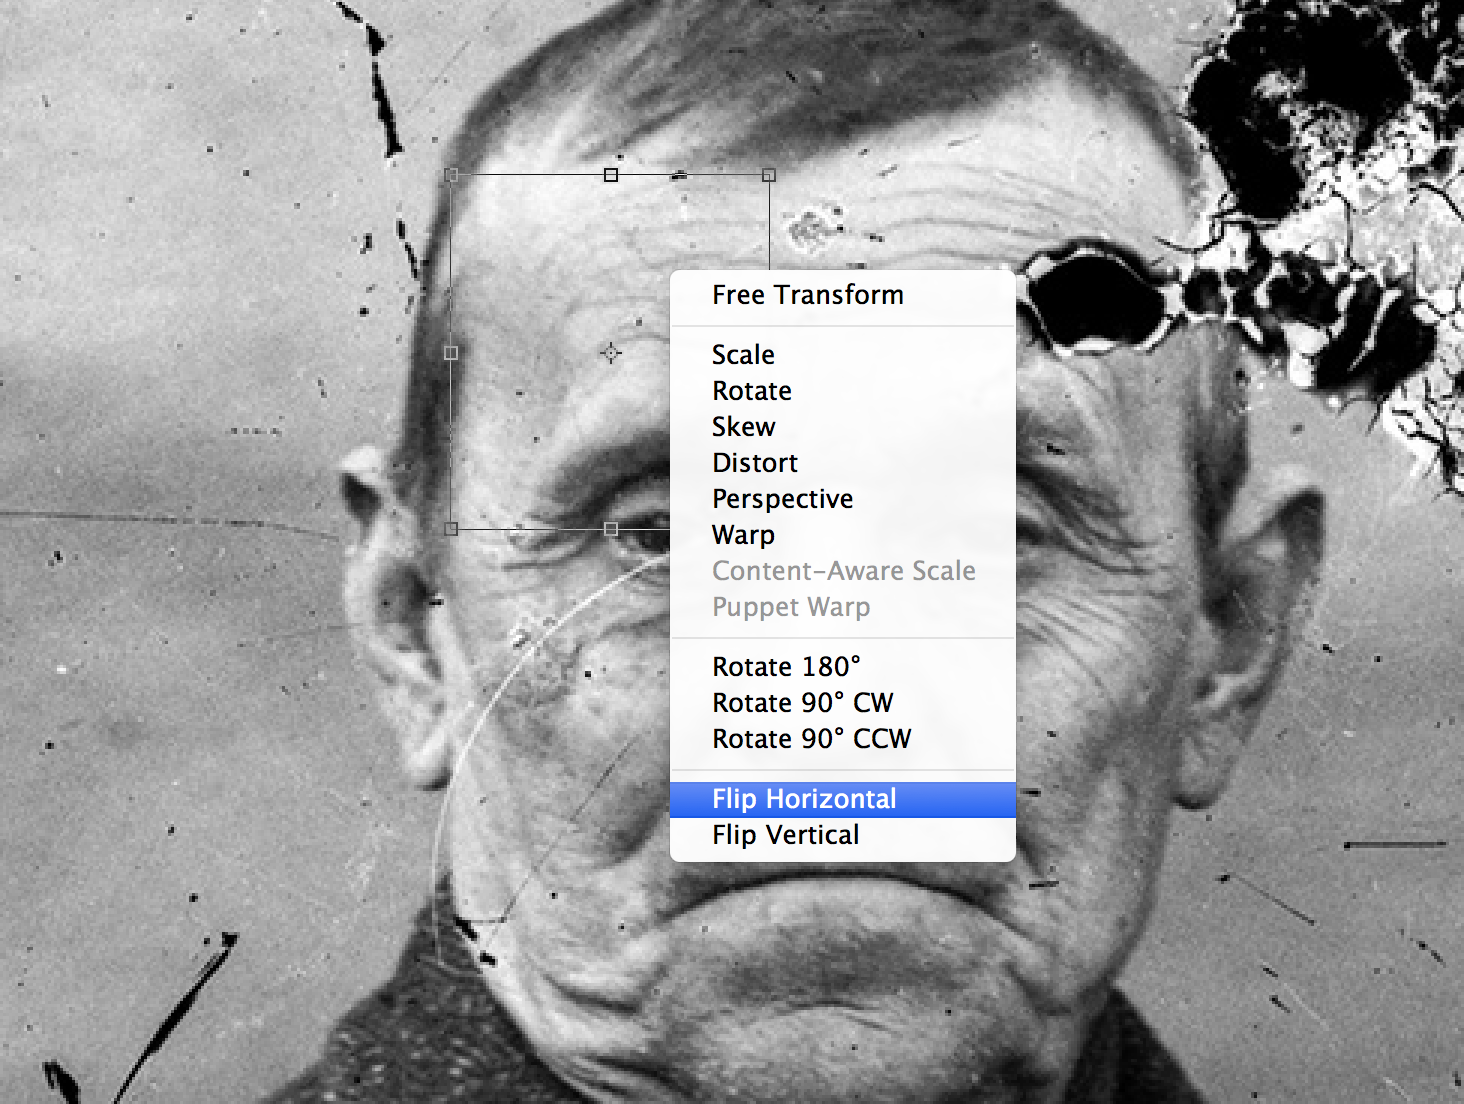
To make repairs like this (when the light is fairly even it’s especially helpful) you can select an undamaged portion from the opposite site of the face. You can see I’ve made that selection above if you look closely. It’s a good idea to copy a good bit extra as you’ll be erasing portions at the edges to help with blending. I copy/paste that piece which will automatically generate a new layer. I then flip that object (command T, flip>horizontal) and slide it into place.
Once it’s roughly in place, I select the eraser tool and make it decently large, very soft, and drop the opacity down. I then erase chunks of the excess until I get a decent blend.


The healing brush tool is a good option to blend the wrinkle lines in. I can’t get a decent screenshot of that. General tips, avoid exactly mirrored portions when possible. Keep an eye out for repetitive patterns. They look odd. The patch tool is especially likely to cause that. Zoom in and out lots.