This is just one of those weird little things that might come in handy for someone someday plus I’m always happy to see software do things that are just a bit off standard.
Part of our online summer courses is creating course trailers. One of the instructors wanted to portray the connection between stages in a persons’s life as connected by a moving ribbon that links different representational photographs together. A cool idea and one that I wanted to support. Given we’re dealing with a large number of people, the goal was to do something that was quick and relatively easy.
I may yet choose another piece of1 software but I managed to do the example above in Keynote (Apple’s version of PowerPoint). I’m pretty sure you could do it in PPT as well.

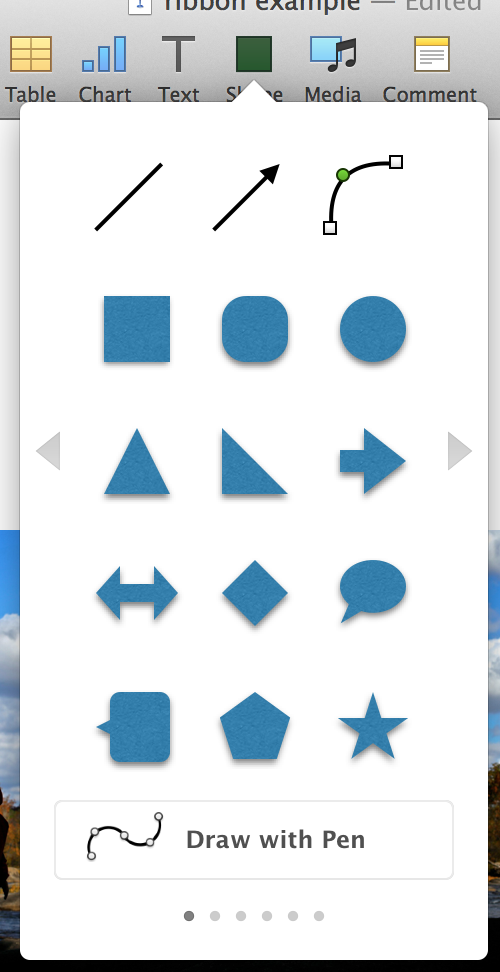
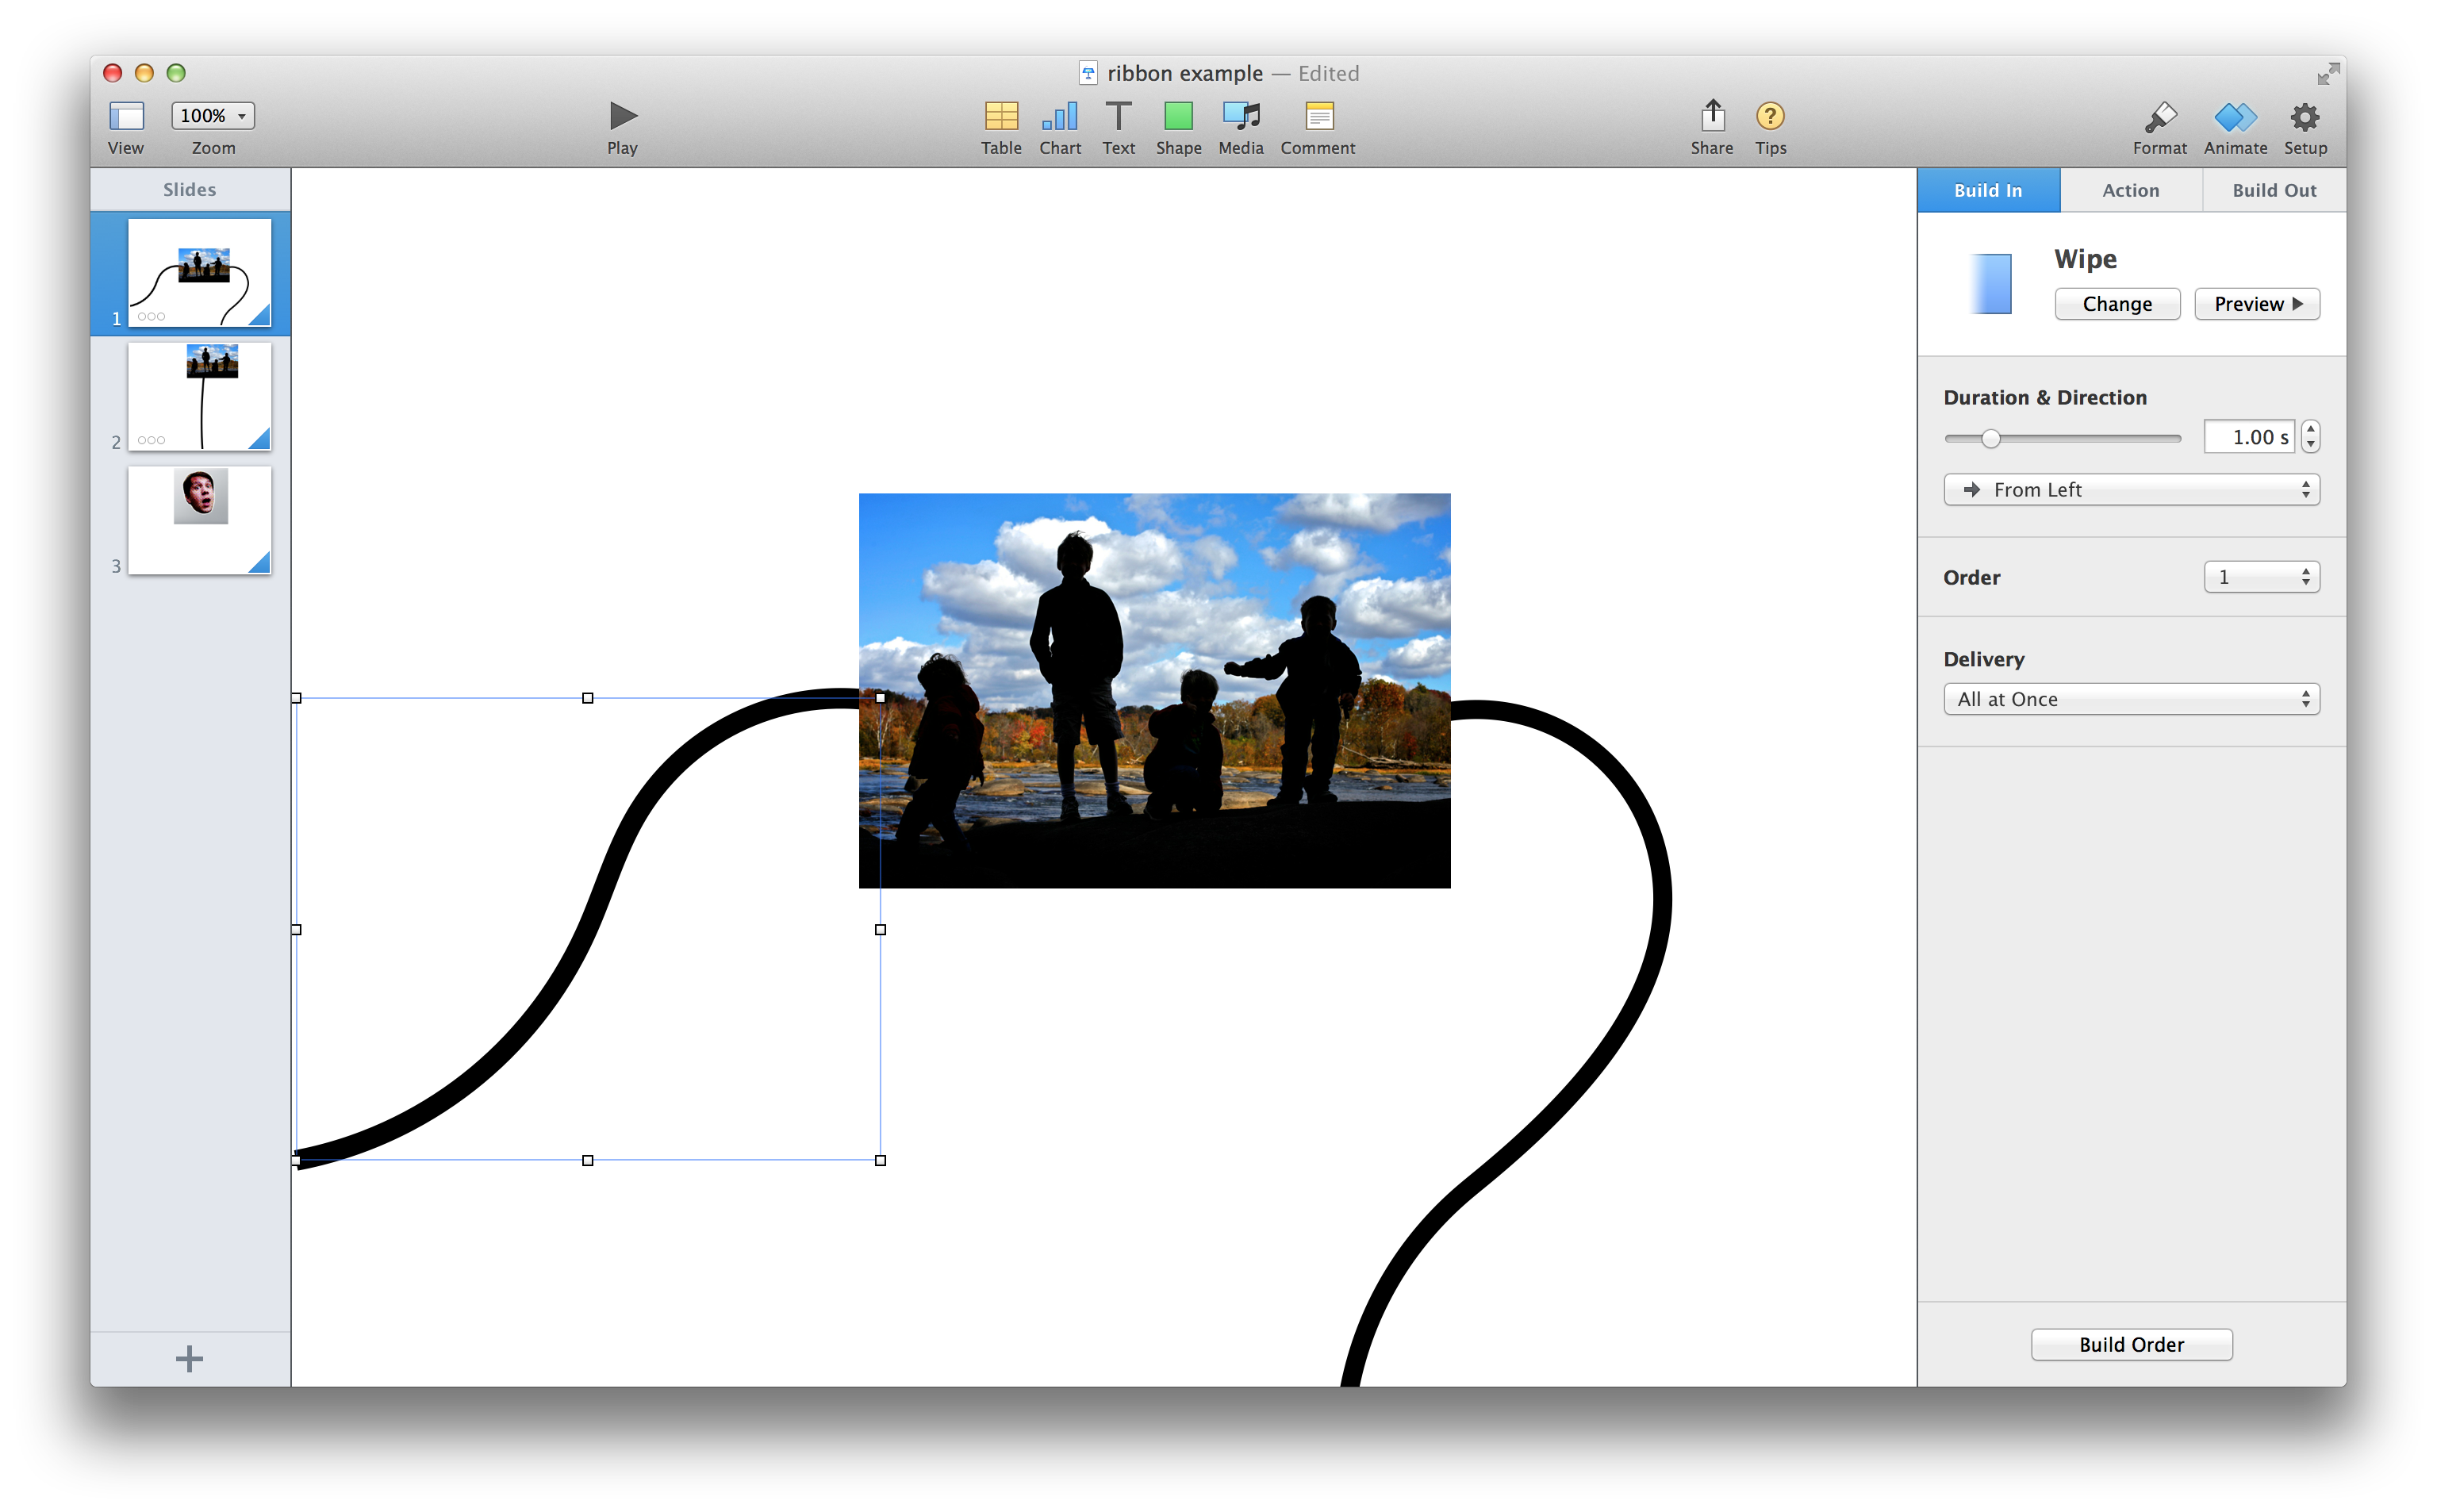
Step one is to put the image in and draw some lines with the vector tool. It’ll be easiest if you end the ribbon in one of the main directions of movement (up, down, left, right). In this case I chose down.
The vector drawing tool in Keynote is quite different from what you’re used to in Illustrator or Photoshop or anything I’ve ever used. I kind of like it but it’s different.
Once you have that set up, select the line and click on “Build In” and choose the “Wipe” option. In this case, I want it to move from the left. I’ll do the same thing with the other line but this time the wipe will be from the top.
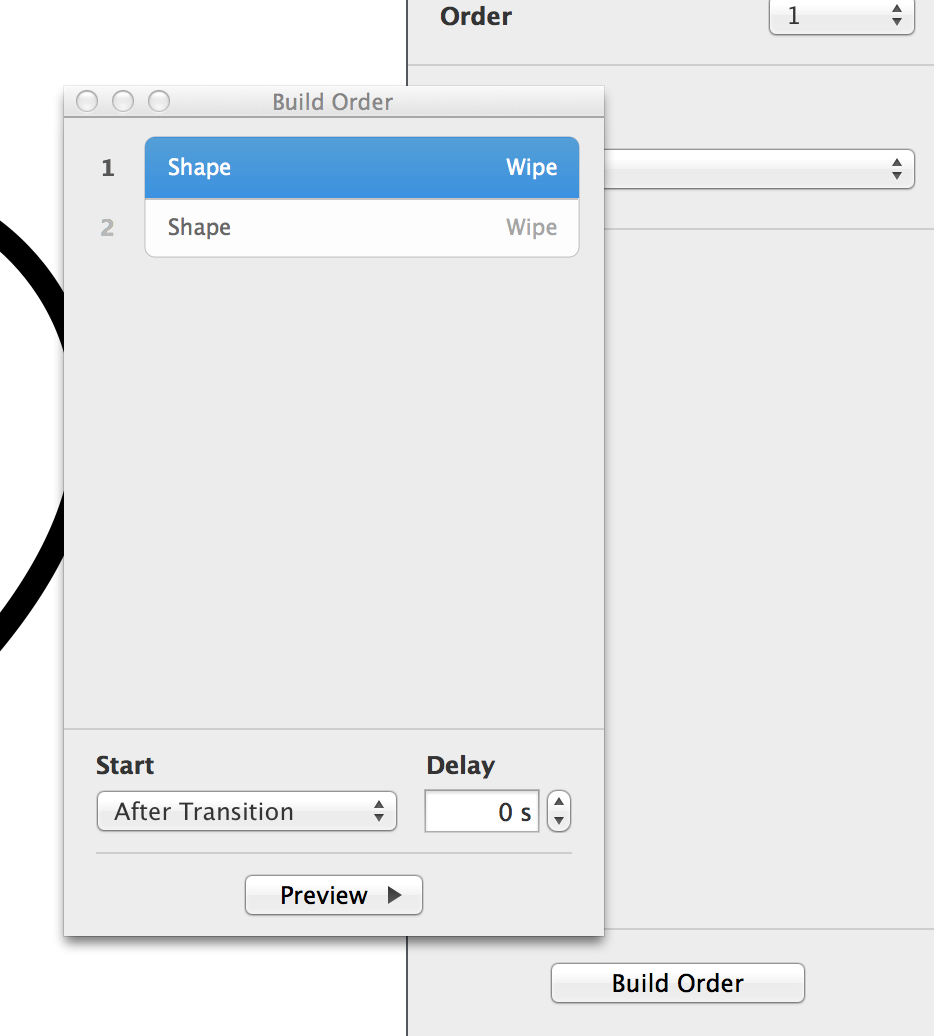
I set the build orders to be automatic and sequential. That gets us a decent ribbon flow on that slide but now we need to shift from one slide to the other while keeping the continuity of the ribbon flow.
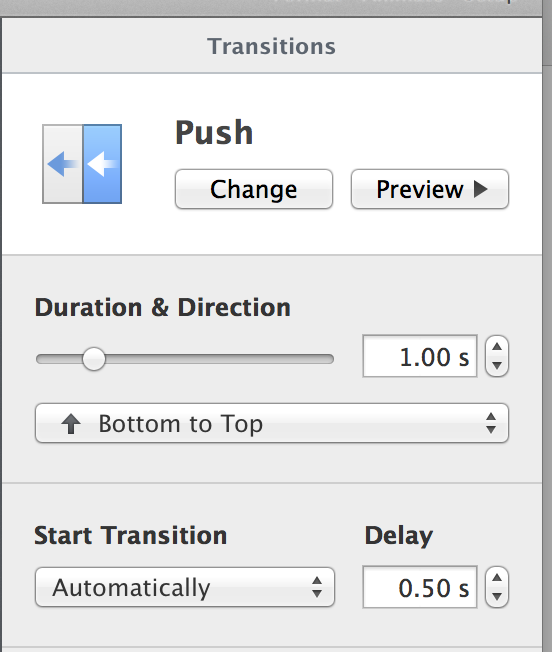
I set the slide transition to Push and set it to bottom to top (against the flow of the wipe). You might notice I put the next image directly against the top of the slide. That just makes life easier. You could carefully line up you ribbons on different slides but this was far easier.
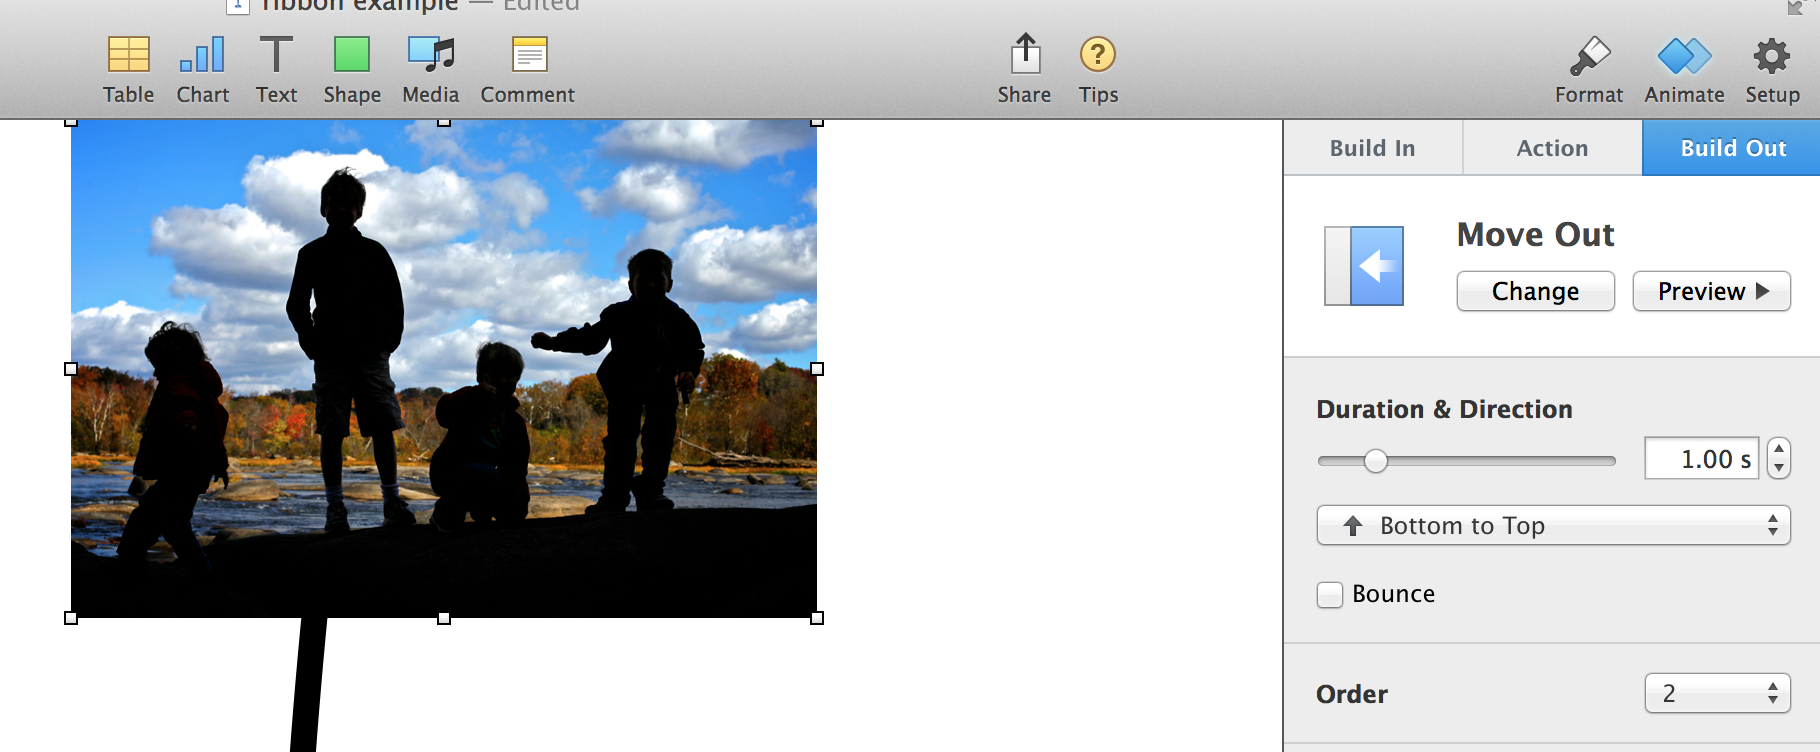
The second slide is modified a bit differently. You might notice the line seems longer than it should. That’s because two items are moving. The line wipe like before but this line is longer (it extends under the picture up to the top of the page) and the picture itself is animated so that its “build out” is “Move Out” from bottom to top.2
This is awwweeesome. Thanks for posting this.