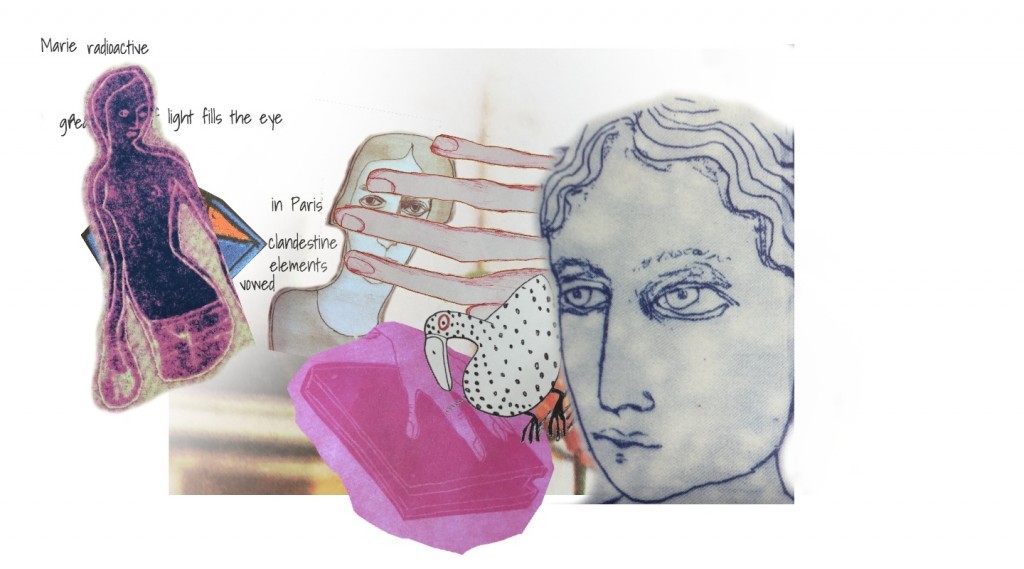
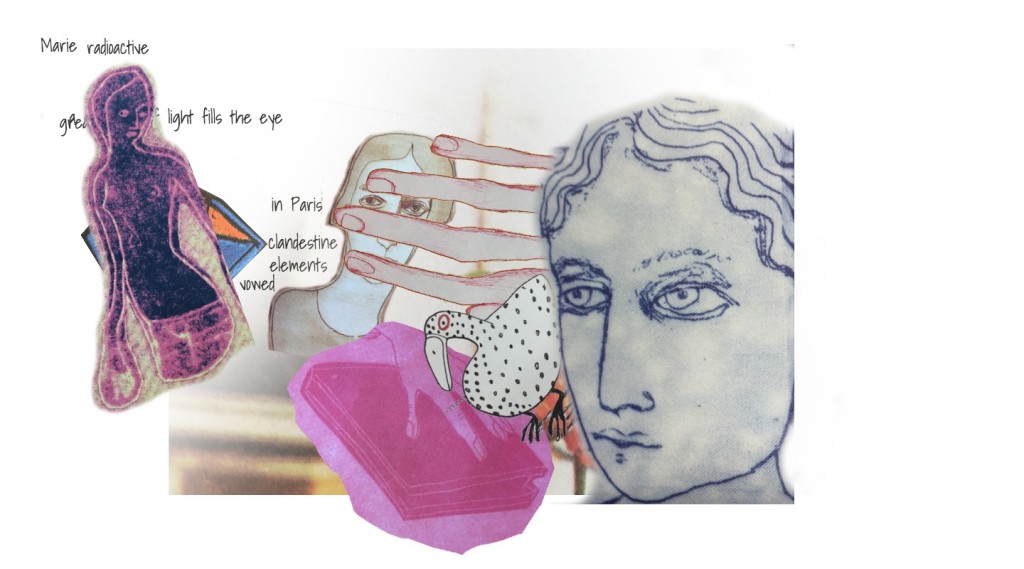
Radioactive is the book that VCU’s first-year students are reading. It’s an interesting book with interesting art and collage playing a major role in the design. I hadn’t really looked at it until this morning but I ended up in a conversation and an idea came to mind.
“What if we could deconstruct elements of the text (words and images) and give them to students to recombine in interesting ways?”
It seemed like a fun thing to do and within reach based on work I’d done earlier with Google Spreadsheet Fridge Poetry but I wanted a few more capabilities to help people create better visual products. I took my phone and took a bunch of quick pictures of pages from the book that seemed interesting and easy to cut out. That took about 10 minutes to photograph and drop the backgrounds.1 Another 10 minutes and I had a working prototype using the old Google Fridge Poetry.
Not bad but I wanted to be able to rotate/resize images and be able to save the results as an image file (something I tried but failed at doing last time around).
Resizing
It turned out resizing was built into jQuery with the resizeable. $( “.resize” ).resizable(); Nice but it resizes the element holding the image rather than the image itself . . . unless you set the image to be the background of that div.
<div class="draggable resize" id="word" style="background-image:url('.$item['title']['$t'].');"></div>
This gets the image set as the background. A little CSS sets the image to fill the background.
  -webkit-background-size: cover;
  -moz-background-size: cover;
  -o-background-size: cover;
  background-size: cover;
Rotating
Rotating led to jQuery Rotate and so I opted not to reinvent the wheel. In this case I ended up having to tie the rotation to a click. Each time you click an element it’ll move 10 degrees. It’s not perfect as it happens accidentally and occasionally spins a bit more than it should but it’s ok.
var value = 0
            $(".draggable").rotate({
              bind:
              {
                click: function(){
                  value +=10;
                  $(this).rotate({ animateTo:value})
                }
              }
            });
Saving
HTML2Canvas was the answer and it was actually really easy. I remember looking at this last time around and not getting what was going on and giving up after messing with it for a bit. This time it just made sense and this StackOverflow saved me more time.
$('#save_image_locally').click(function(){
    html2canvas($('#container'),
    {
      onrendered: function (canvas) {
        var a = document.createElement('a');
        // toDataURL defaults to png, so we need to request a jpeg, then convert for file download.
        a.href = canvas.toDataURL("image/jpeg").replace("image/jpeg", "image/octet-stream");
        a.download = 'radioactivecollage.jpg';
        a.click();
      }
    });
  });
That javascript (which captures the #container element) is tied to an HTML button like this. Note the connection between the two- #save_image_locally.
<button id="save_image_locally">download </button>
Tooltip line breaks
Another built in jQuery option that I used but I wasn’t happy with the lack of line breaks. Stack Overflow helped me out again. Just adding 
 worked nicely.
Words
Initially, I had text boxes that could be written in freely but it felt messy. I replaced them with snippets of text from the book. I also put all of the text so they’d be layered behind the images. That gives you the option to block different words or letters with the images to change meaning.
Stuff to Improve
I’m still not happy with the rotation options and I need to think through some way to deal with layering.
Still decent, and perhaps more importantly, improving.
1 The PNGs are huge at the moment but I’ll fix that in time.


This was wild. Heck, I did not even know you could save s**** like that!
My mistakes- I missed the directions – maybe better as an overlay div to dismiss?
The layering gets in the way. Would be great to push thing to back or front (should be some css z-layer stuff??)
Also, the download button takes a while to respond. So I clicked it. Alot.
But for a first cut, woah. I like
Thanks Alan.
I added the overlay div directions.
I agree the layers suck. I am struggling to figure out an intuitive way to change them that doesn’t compromise something else. It may be that I have to ditch the rotation and then maybe there could be a count function that ups the z-index per click or something like that? Click the item repeatedly to elevate it to the top?
Not sure. I like the rotation. Each is a dub you move around? Can’t you put little +/- buttons for layering? Or what if each has a button to click to select )turn on a border to indicate, add a temp like #isselected, and then have editing controls for all as button on the top? You apply all changes to the id
This deals with the layers issue pretty nicely. Now in production. 🙂
This is an excellent way to deconstruct/reconstruct learning elements. It would be interesting to combine the output with something like Padlet. Students could then post the results in a gallery where they could be organized spatially to create something even greater.
Good point. I was playing with the options for saving those images somewhere but I had to move on to something else. They’ll be doing the same book next year so I’ll likely revisit this at some point.